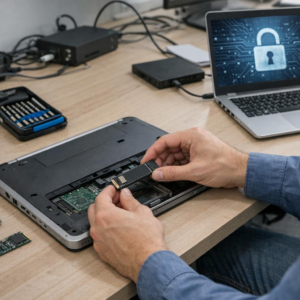
Your retired SSD may still be carrying boardroom secrets.
In corporate environments, deleting files, formatting drives, or reinstalling an operating system is not enough-especially with SSDs, where wear leveling, over-provisioning, and controller behavior can leave data beyond the reach of conventional tools.
Securely retiring solid state drives requires a defensible process that aligns technical sanitization methods with compliance, asset tracking, chain of custody, and risk tolerance.
This guide explains how to erase, verify, document, and dispose of SSDs without exposing sensitive business data or creating unnecessary operational risk.
SSD Data Sanitization Fundamentals: Why Standard Wiping Fails in Enterprise Environments
Traditional disk wiping was designed for magnetic hard drives, where overwriting every sector could reliably remove recoverable data. SSDs behave differently because of wear leveling, over-provisioning, bad block management, and controller-level remapping. In plain terms, the operating system may “overwrite” one area while sensitive corporate data still remains in NAND cells the OS can no longer directly access.
This is why running a standard format, file deletion, or legacy overwrite tool is not enough for enterprise SSD disposal. I’ve seen IT teams retire encrypted laptops after a quick wipe, only to discover during an asset audit that the drives had never received a verified sanitize or crypto erase command. That creates unnecessary risk for regulated data, especially in healthcare, finance, legal, and managed IT services.
Enterprise-grade SSD data sanitization should rely on drive-supported commands and auditable workflows, not guesswork. Tools such as Blancco Drive Eraser, Parted Magic, manufacturer utilities, or enterprise endpoint management platforms can help trigger and document secure erase, NVMe sanitize, or crypto erase operations where supported.
- Secure Erase: Resets NAND using firmware-level commands, but support varies by model.
- NVMe Sanitize: Designed for modern NVMe SSDs and often preferred for corporate device retirement.
- Crypto Erase: Destroys encryption keys, making data unreadable almost instantly when full-disk encryption was properly enabled.
The practical takeaway: verify the SSD model, interface, encryption state, and sanitization result before resale, redeployment, or recycling. For high-risk assets, use certified IT asset disposition services that provide chain-of-custody records and data destruction certificates.
How to Securely Erase Corporate SSDs Using Crypto-Erase, Vendor Tools, and Verified Workflows
For corporate SSD disposal, crypto-erase is often the cleanest option when drives use hardware encryption or self-encrypting drive technology. Instead of overwriting flash cells, the process destroys the encryption key, making existing data unreadable while reducing wear and saving time in large IT asset disposition projects.
Use trusted vendor utilities whenever possible, such as Samsung Magician, Intel Memory and Storage Tool, SanDisk Dashboard, or enterprise server tools from Dell, HPE, and Lenovo. In practice, I’ve seen finance teams avoid unnecessary drive shredding costs by using manufacturer-approved secure erase workflows, then retaining erase logs for audit and cyber insurance reviews.
- Confirm drive capability: Check whether the SSD supports Secure Erase, Sanitize, or PSID revert before starting.
- Use a controlled boot environment: Run the erase from BIOS/UEFI, vendor software, or a trusted tool such as Parted Magic.
- Verify and document: Record serial number, asset tag, erase method, operator, date, and final status.
For NVMe SSDs, look for the NVMe Sanitize command, which is more appropriate than legacy overwrite methods. For encrypted laptops managed with BitLocker, FileVault, or enterprise endpoint management, rotate or destroy recovery keys first, then perform a vendor-level erase before resale, redeployment, or e-waste handling.
A strong workflow should align with NIST SP 800-88 data sanitization guidance and produce evidence your compliance team can defend. If drives are leaving your custody, use a certified ITAD service that provides chain-of-custody records and a certificate of data destruction.
SSD Retirement Governance: Chain of Custody, Compliance Evidence, and Common Disposal Mistakes
SSD retirement should be managed like any other information security control: documented, repeatable, and auditable. A secure erase result means little if the organization cannot prove who handled the drive, which asset tag it belonged to, what sanitization method was used, and when it was released for resale, recycling, or destruction.
For regulated environments such as healthcare, finance, legal, and cloud hosting, keep a clear chain of custody from decommissioning to final disposition. In practice, this means linking the SSD serial number to the device record in platforms such as ServiceNow Asset Management, then attaching the wipe certificate, technician name, timestamp, and disposal vendor documentation.
- Record SSD make, model, serial number, asset ID, encryption status, and erase method.
- Store compliance evidence such as NIST 800-88 reports, certificates of destruction, and vendor receipts.
- Use approved IT asset disposition services when drives leave your facility.
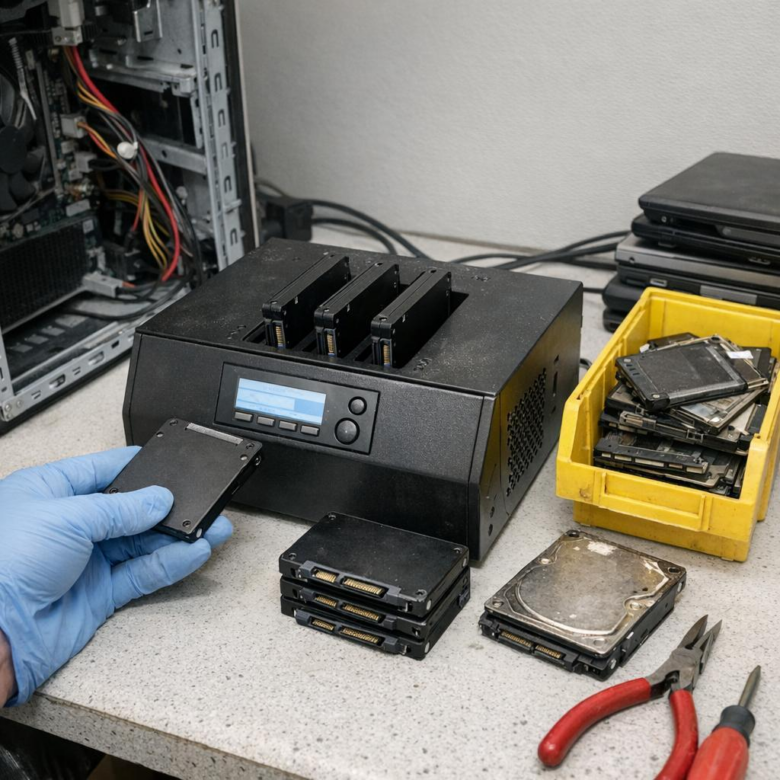
A common real-world failure is wiping laptops but forgetting removable M.2 SSDs pulled during repair or upgrades. I have seen retired “parts bins” become the weakest link because no one treated loose drives as data-bearing assets after they were removed from endpoints.
Avoid relying only on a visual inspection, a quick format, or an undocumented BIOS secure erase. For higher-risk data, use enterprise data erasure software such as Blancco Drive Eraser or verified crypto-erase workflows, then retain reports in your GRC or ticketing system for audit readiness.
The biggest disposal mistakes are poor tracking, mixing erased and unerased drives, and choosing the cheapest recycler without checking insurance, certifications, or data destruction procedures. Governance is what turns secure SSD retirement from a technical task into defensible compliance evidence.
Final Thoughts on How to Securely Erase and Retire Solid State Drives in Corporate Environments
Retiring SSDs securely is ultimately a risk decision, not just an IT disposal task. For low-risk internal reuse, verified cryptographic erase may be sufficient; for regulated data, failed drives, or uncertain device history, physical destruction remains the safer choice.
Practical takeaway: define approved erase methods by data sensitivity, require verification evidence, and keep a clear chain of custody from removal to final disposition. When in doubt, choose the option that is easiest to audit and hardest to reverse. A consistent, documented process protects the organization far better than ad hoc wiping at the end of an asset’s life.