What if your photos don’t need better editing-just a better workflow?
For beginners and content creators, great results rarely come from random filters or endless tweaking. They come from a simple, repeatable process that turns raw images into clean, consistent, publish-ready visuals.
The right photo editing workflow helps you save time, avoid over-editing, and build a recognizable style across Instagram, blogs, YouTube thumbnails, product shots, and personal projects.
In this guide, you’ll learn a practical step-by-step editing system you can use in Lightroom, Photoshop, mobile apps, or any editing software-without feeling overwhelmed.
What a Beginner-Friendly Photo Editing Workflow Should Include
A beginner-friendly photo editing workflow should be simple enough to repeat, but structured enough to produce consistent results. Start with file organization: import your images into clearly named folders by date, client, product, or platform, then back them up to cloud storage or an external SSD before editing.
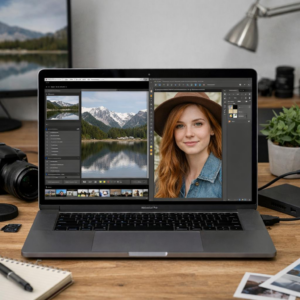
Next, choose one reliable photo editing software and stick with it while you learn. Tools like Adobe Lightroom, Canva, Snapseed, and Capture One all work, but Lightroom is especially useful for beginners because it combines photo organization, RAW editing, presets, color correction, and export settings in one place.
- Basic corrections: crop, straighten, adjust exposure, fix white balance, and recover highlights.
- Creative edits: apply a subtle preset, improve contrast, enhance colors, and sharpen only where needed.
- Export settings: resize for Instagram, websites, blogs, online stores, or print without losing quality.
In real-world content creation, the biggest mistake I see is editing randomly from image to image. For example, if you are preparing product photos for Shopify or Etsy, edit one “hero” image first, then sync similar lighting and color settings across the rest of the batch to save time and maintain brand consistency.
A good workflow should also include non-destructive editing, meaning your original file stays untouched. This matters if a client asks for a warmer tone later, or if you need to reuse the same image for paid ads, social media, and a high-resolution website banner.
How to Edit Photos Step by Step: Import, Cull, Adjust, Export
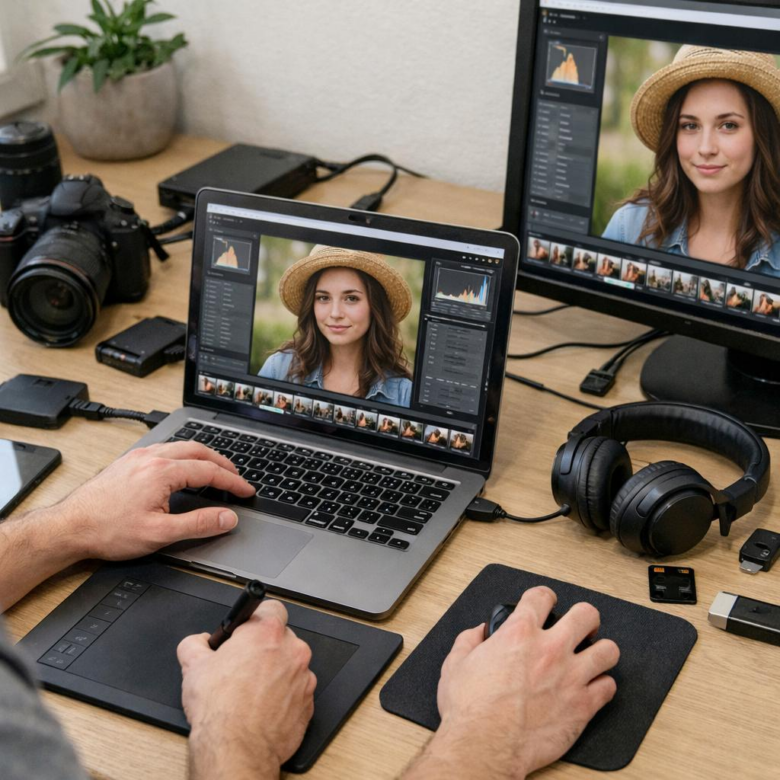
Start by importing your photos into a dedicated photo editing software like Adobe Lightroom, Capture One, or Apple Photos. Create folders by date, client, or content type so you can find files later without digging through your camera roll. If you shoot for Instagram, YouTube thumbnails, product listings, or client work, this organization saves real time.
Next, cull your images before editing. Delete obvious mistakes, then use ratings, flags, or color labels to mark the best shots. A practical example: from 120 café product photos, you might keep 25 strong images, edit 10, and export 3 final versions for the website, social media, and paid ads.
- Import: Back up original files and sort them into clear folders.
- Cull: Keep sharp, well-composed images with the strongest subject.
- Adjust: Fix exposure, white balance, crop, contrast, color, and noise.
When adjusting, work from global edits to local edits. Correct exposure and white balance first, then refine highlights, shadows, skin tones, lens distortion, and sharpening. In my experience, beginners often overuse saturation; a small vibrance increase usually looks more professional than pushing every color too far.
Finally, export based on where the image will be used. For websites, use compressed JPEG or WebP to reduce file size and improve page speed. For print or professional delivery, export high-resolution files with the correct color profile, usually sRGB for online use and Adobe RGB only when your print service requests it.
Common Photo Editing Workflow Mistakes That Slow Down Content Creators
One of the biggest mistakes beginners make is editing every photo from scratch. If you shoot product photos, Instagram content, or YouTube thumbnails regularly, using presets in Adobe Lightroom or actions in Photoshop can save serious time while keeping your visual style consistent.
Another common issue is poor file organization. Dumping RAW files, exports, and social media versions into one folder quickly becomes expensive in lost time, especially when working with clients or sponsored content deadlines.
- Use clear folders by date, project, and platform.
- Rename final exports with keywords like “brand-campaign-instagram.jpg”.
- Back up files to cloud storage or an external SSD before deleting anything.
A real-world example: a food creator editing restaurant photos may waste 20 minutes searching for the correct “final” image if there are five similar exports. A simple naming system and synced cloud backup through Google Drive, Dropbox, or Adobe Creative Cloud prevents that problem.
Many creators also over-edit because they do not calibrate their monitor or check images on a phone before posting. Colors that look perfect on a laptop may appear too warm, dark, or oversaturated on mobile, which matters for ecommerce photography, real estate listings, and paid social media campaigns.
Finally, exporting in the wrong size slows uploads and can reduce image quality. Save full-resolution files for print or client delivery, but create optimized web versions for blogs, portfolios, and online stores to improve website speed and user experience.
Summary of Recommendations
A strong photo editing workflow is less about using every tool and more about making consistent, intentional choices. Start with a simple process, protect your originals, and refine each image based on its purpose-whether that is social media, a portfolio, or client delivery.
Practical takeaway: choose a workflow you can repeat without friction. If speed matters, use presets and batch edits. If quality matters, slow down for color, detail, and export checks. The best workflow is the one that helps you create better images consistently, without making editing feel overwhelming.