Your Threadripper is not “running hot” by accident-it is exposing weak cooling decisions.
With massive core counts, dense heat output, and a large IHS that punishes undersized cold plates, Threadripper systems demand more than a flashy pump and oversized radiator.
The right custom loop can unlock sustained boost clocks, quieter operation, and workstation-grade reliability; the wrong one can leave expensive silicon throttling under real workloads.
This guide breaks down how to choose the proper water block, radiator capacity, pump configuration, tubing, coolant, and layout for a Threadripper build that is built to perform-not just look impressive.
What Makes Threadripper Cooling Different: Heat Density, IHS Coverage, and Loop Requirements
Threadripper CPUs are not difficult to cool just because they use a lot of power; the real challenge is how that heat is spread across a massive integrated heat spreader. A standard desktop CPU water block may physically mount with adapters, but it often fails to cover the full IHS properly, leaving parts of the chiplets with weaker heat transfer.
For a serious Threadripper custom loop, choose a full-cover sTRX4, sWRX8, or TR5 CPU water block from brands like EKWB, Watercool, or Optimus. In real workstation builds, such as a 3D rendering PC running Blender or V-Ray overnight, poor block coverage can mean higher coolant temperature, louder fan curves, and lower sustained boost clocks even when the loop looks “high-end” on paper.
- Block coverage: Use a Threadripper-specific CPU water block, not a reused AM4/AM5 block with a bracket.
- Radiator capacity: Plan for at least a thick 360mm radiator, with 480mm or dual radiators preferred for quiet workstation cooling.
- Pump strength: A quality D5 pump and reservoir combo is a safer choice for restrictive blocks, multiple radiators, and future GPU water cooling upgrades.
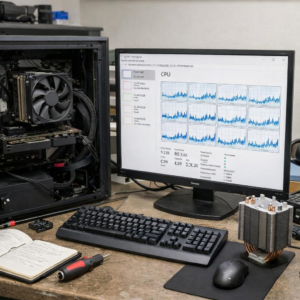
Loop design also matters more because Threadripper systems are usually paired with high-end GPUs, ECC memory, fast NVMe storage, and expensive workstation motherboards. Spending more on the right radiator, fittings, coolant, and monitoring tools like HWiNFO can protect performance and reduce long-term maintenance cost.
How to Size Radiators, Pumps, Blocks, and Tubing for a Custom Threadripper Loop
For Threadripper, start with the CPU heat load, not the case size. A modern Threadripper workstation used for Blender, Unreal Engine, virtualization, or CPU rendering should generally be planned around at least a thick 360mm radiator, with 480mm or dual radiators preferred if you want lower fan noise and better sustained boost clocks.
A real-world example: in a Fractal Define 7 XL or Corsair 7000D Airflow, a 480mm front radiator plus a 360mm top radiator gives far more thermal headroom than a single 360mm unit, especially during long all-core workloads. Use tools like EK-Quantum Cooling Configurator or Corsair Custom Cooling Configurator to check radiator clearance, fan thickness, and fitting compatibility before buying parts.
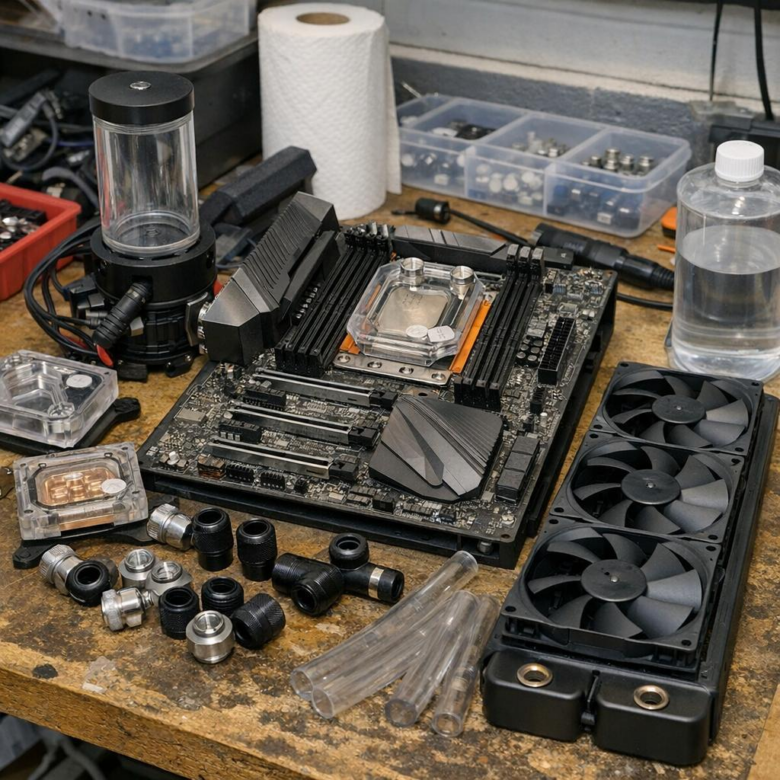
- CPU block: Choose a full-coverage Threadripper/SP3/sTRX4/sWRX8-compatible CPU water block, not a standard desktop block with an adapter.
- Pump: A quality D5 pump is the safer choice for restrictive loops, multiple radiators, and workstation reliability.
- Tubing: 10/16mm soft tubing is easier to build and service; hardline tubing looks cleaner but adds cost, tools, and leak-test time.
Do not undersize fittings or chase extreme flow rates. In practice, clean routing, enough radiator surface area, and a reliable pump/reservoir combo matter more than flashy coolant or oversized tubing.
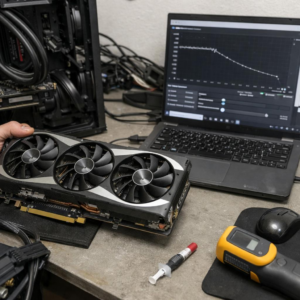
If you plan to cool a high-end GPU in the same loop, add radiator capacity before adding decorative parts. The best custom loop water cooling setup is one you can drain, maintain, and troubleshoot without dismantling the entire PC.
Common Threadripper Water Cooling Mistakes: Undersized Radiators, Poor Block Contact, and Restrictive Loop Design
Threadripper CPUs are unforgiving when the custom loop is planned like a normal desktop build. The most common mistake is using too little radiator surface, especially when cooling both the CPU and a high-end GPU in the same loop. For a workstation doing Blender rendering, V-Ray, or long compile jobs, a single 360mm radiator can quickly become noisy because the fans have to work harder to control coolant temperature.
Block contact is another big issue. Threadripper has a large heat spreader, so using a standard CPU water block or applying thermal paste like you would on a smaller Ryzen chip can leave hot zones. A full-cover sTRX4/sWRX8-compatible block from brands like EK, Optimus, or Heatkiller, combined with an even paste spread using Thermal Grizzly Kryonaut, usually gives more consistent results than a small center dot.
- Radiator sizing: consider at least a thick 360mm or dual radiators for CPU-only workstation cooling, and more if adding a GPU.
- Block mounting: tighten screws evenly in a cross pattern and verify socket compatibility before buying.
- Loop restriction: avoid too many sharp 90-degree fittings, narrow tubing runs, and weak pump choices.
In real builds, I often see temperature problems traced back to layout, not the water block itself. A D5 pump, clean tube routing, quality coolant, and enough radiator capacity usually matter more than buying the most expensive RGB parts. Good planning reduces noise, improves thermal stability, and protects the investment in a high-cost Threadripper workstation.
Summary of Recommendations
For Threadripper, the right custom loop is the one that matches your workload, case space, and tolerance for maintenance-not the most extravagant parts list. Prioritize full IHS coverage, adequate radiator surface area, reliable pump capacity, and clean routing before spending on aesthetics.
- Choose performance headroom if you render, compile, or simulate for hours.
- Choose simplicity if uptime and easy servicing matter most.
- Avoid underbuilt loops; Threadripper rewards careful planning and exposes shortcuts quickly.
A well-sized loop should run quietly, stay stable under sustained load, and remain serviceable years after installation.