Why settle for “close enough” paint when resin can carry color deeper than metal ever could?
Custom pearl and candy finishes can turn a small-scale car replica into a miniature showpiece, but they also expose every shortcut in mixing, layering, and surface prep.
Unlike standard opaque paints, pearls shift with light and candies build color through transparent depth, so the real skill is controlling tone, sparkle, and saturation before the clear coat locks it all in.
This guide breaks down how to mix custom pearl and candy colors for resin car replicas with better consistency, cleaner depth, and finishes that look intentional-not accidental.
What Makes Pearl and Candy Colors Work in Resin Car Replicas
Pearl and candy finishes work because they control light in different ways. Pearl pigments contain tiny mica or synthetic flakes that reflect color at an angle, while candy colors are transparent dyes or tinted clears that let the base coat show through. On resin car replicas, this layering is what creates depth instead of a flat “painted plastic” look.
The base coat matters more than many beginners expect. A silver base under candy red gives a bright custom show-car finish, while gold under the same candy red makes it warmer and darker. For example, a 1/24 resin lowrider body sprayed with metallic silver, then three light coats of candy blue, will look deeper and more realistic than one heavy coat straight over primer.
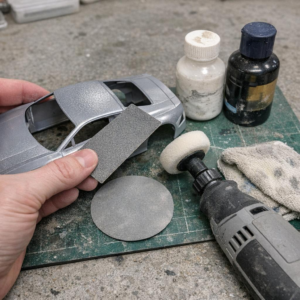
- Primer: use a smooth automotive primer or hobby primer to hide resin sanding marks.
- Base coat: choose silver, gold, black, or white depending on the final color effect.
- Clear coat: protect the finish with a gloss clear for better shine and durability.
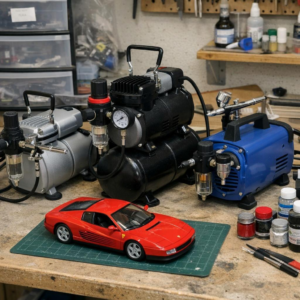
A good airbrush, such as the Iwata Eclipse HP-CS, helps because pearl and candy paints need thin, even passes. Too much paint in one coat can cause blotching, runs, or cloudy pearl patches. In real workshop use, consistent air pressure, a clean needle, and proper paint reduction often matter more than buying the most expensive automotive paint system.
For best results, test your mix on plastic spoons or spare resin pieces before spraying the model body. It saves paint cost, reduces rework, and shows how the color will look under clear coat and strong display lighting.
How to Mix, Layer, and Test Custom Pearl-Candy Resin Paints
Start with a sealed, sanded resin body because candy paint exposes every flaw. I usually spray a gray primer, then a gloss black, silver, or gold base depending on the final tone; for example, candy red over silver looks brighter, while candy red over gold gives a warmer custom show-car finish.
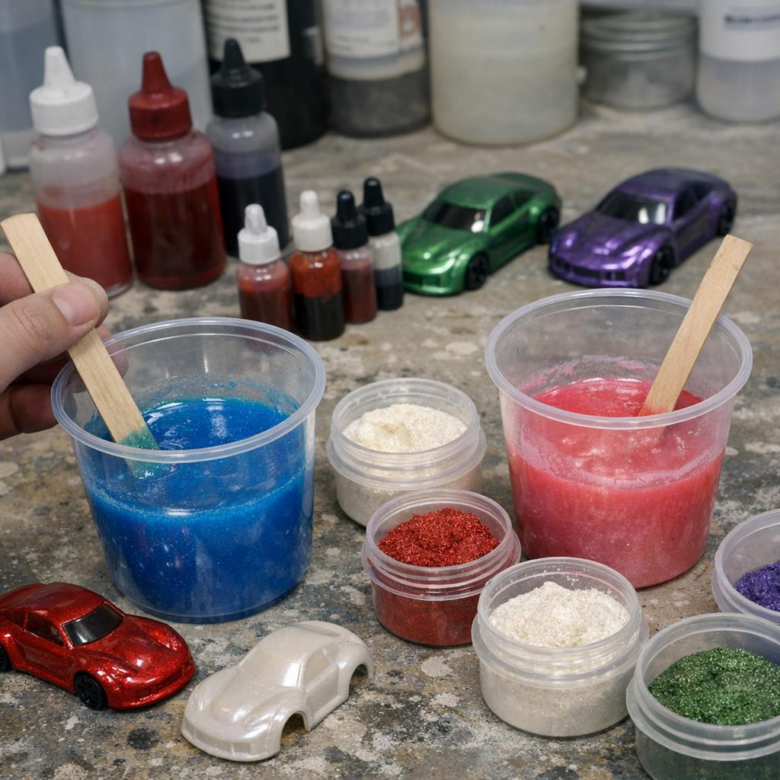
For mixing, use a digital scale, disposable pipettes, and a fine paint strainer instead of guessing by drops. A reliable setup is Iwata Eclipse HP-CS, lacquer thinner or urethane reducer, pearl powder, and transparent candy concentrate mixed in small batches so you can adjust color strength without wasting expensive model car paint supplies.
- Pearl layer: Mix pearl lightly into clear or intercoat clear; too much makes the finish cloudy.
- Candy layer: Spray thin coats and count them, because each pass darkens the color.
- Test panel: Use plastic spoons or scrap resin pieces with the same primer and base coat.
One real-world trick: label each test spoon with the base color, pearl ratio, reducer, air pressure, and number of candy coats. This saves time when you need to repaint a hood, repair orange peel, or match a second resin car replica months later.
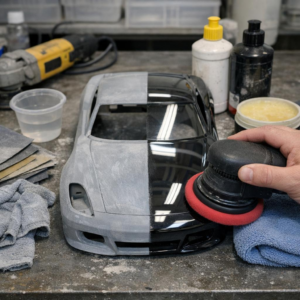
Keep airbrush pressure moderate and build color slowly; flooding candy paint causes blotching around body lines and vents. After the color looks even, let it flash properly before applying 2K clear coat or hobby clear, then wet sand and polish only after the finish has fully cured.
Common Color-Matching and Finish Mistakes That Ruin Scale Realism
One of the fastest ways to make a resin car replica look toy-like is using a full-size automotive color without scaling the effect. Real pearl and candy paint depends on light travel, panel size, and clear coat depth, so a heavy metallic flake that looks perfect on a 1:1 custom car can look like glitter on a 1/24 body.
A common mistake is spraying candy color over an uneven silver or gold base. Candy paint is transparent, so any mottling, dry spray, or primer shadow will show through the final finish; I’ve seen a deep candy red model turn blotchy simply because the builder rushed the base coat around the fender vents.
- Use finer pearl powders or scale-model paint systems instead of coarse automotive flakes.
- Test the full stack: primer, base, candy, pearl, and clear coat on a spare resin spoon or scrap body.
- Check color under daylight and LED bench lighting before committing to final assembly.
Another issue is clear coat thickness. Too much 2K clear coat can bury door lines, soften badges, and make panel gaps look unrealistic, even if the gloss is impressive. A quality airbrush like an Iwata Eclipse HP-CS, paired with a regulated airbrush compressor and small spray booth, gives better control than blasting the body with a large aerosol can.
Also watch scale contrast. Black window trim, chrome details, and panel-line washes should be slightly restrained because high-gloss candy colors already pull attention. The goal is not just a shiny finish; it is believable automotive paint in miniature.
Summary of Recommendations
Custom pearl and candy finishes reward patience more than shortcuts. The best results come from treating color as a controlled system: test spoons first, record ratios, build thin layers, and judge the finish under real lighting before committing to the replica.
Practical takeaway: choose pearl when you want subtle depth and scale realism; choose candy when you want dramatic color shift, glow, and show-car impact. If accuracy matters, stay restrained. If personality matters, experiment-but always protect the work with a clear coat that enhances depth without burying the details.